")


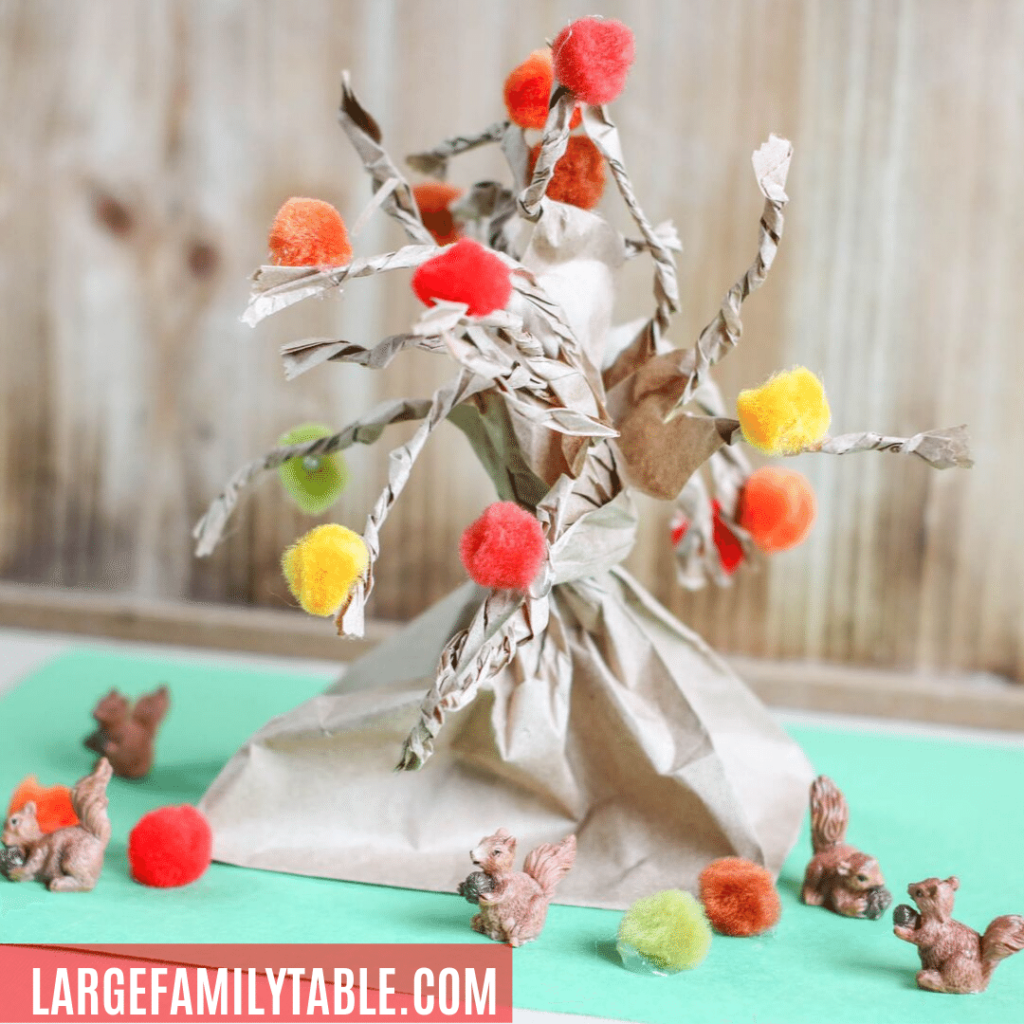
Fall is such a fun time of year for everyone. The leaves are changing, the weather is cooler, and school is back in session. This fall paper bag craft project will be a hit for all ages. Bonus points that most of the supplies are items you can find around the house. Maybe I can use the 200 cotton balls from VBS that I found in my office while cleaning recently.
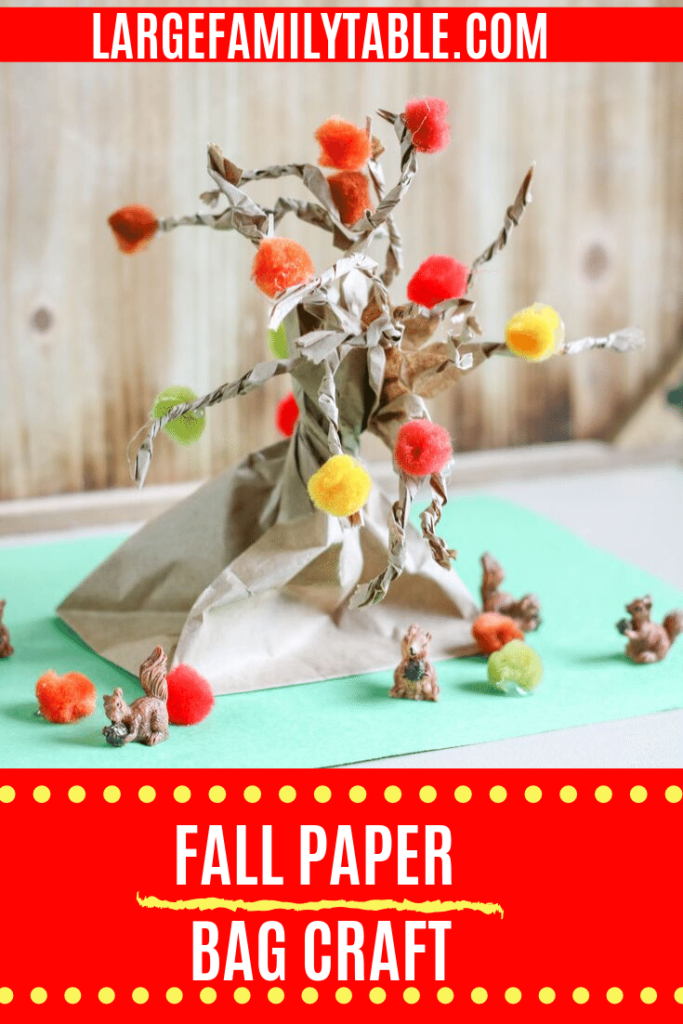
Gather the supplies together and set them on the table. Fold your paper bag then cut slits from the open end 3 to 5 inches up. These are for the branches so cut as many as you would like. Preschool age children may need help with the cutting depending on their fine motor ability. You could have an older child cut for them to get extra practice.
Open the bag and expand the uncut side. Glue to the construction paper. Twist the middle to make the base then twist the slits to make the limbs. Glue the pompons and any other items you desire to the tree. Enjoy your new fall decorations.
Supplies For Fall Paper Bag Project:
- Brown paper bag
- Colored pom pom balls
- Green construction paper
- Glue
- Scissors
Instructions For Fall Paper Bag Project:
- While the paper bag is folded, cut slits from the open end of the paper bag 3 to 5 inches towards the base of the bag.
- Open the bag and expand the base. Glue the base/bottom of the bag to a sheet of construction paper.
- In the middle of the bag, twist tightly to create the trunk of the tree.
- Carefully pull apart the cut pieces and twist each one to form a limb. To create thicket limbs or limbs that branch apart, twist more than one piece together and then pull apart towards the end.
- To attach the pom poms, use a small amount of glue and press against the limb. Allow glue to dry before playing or displaying.