Autumn Leaf Stained Glass Craft Project For Kids
Autumn is naturally beautiful with the changing leaves and crisp air as we roll into a fresh season. Kids love to collect pine cones, acorns, and pine needles on fall nature walks. Leaf rubbings are another simple craft project for the fall season.
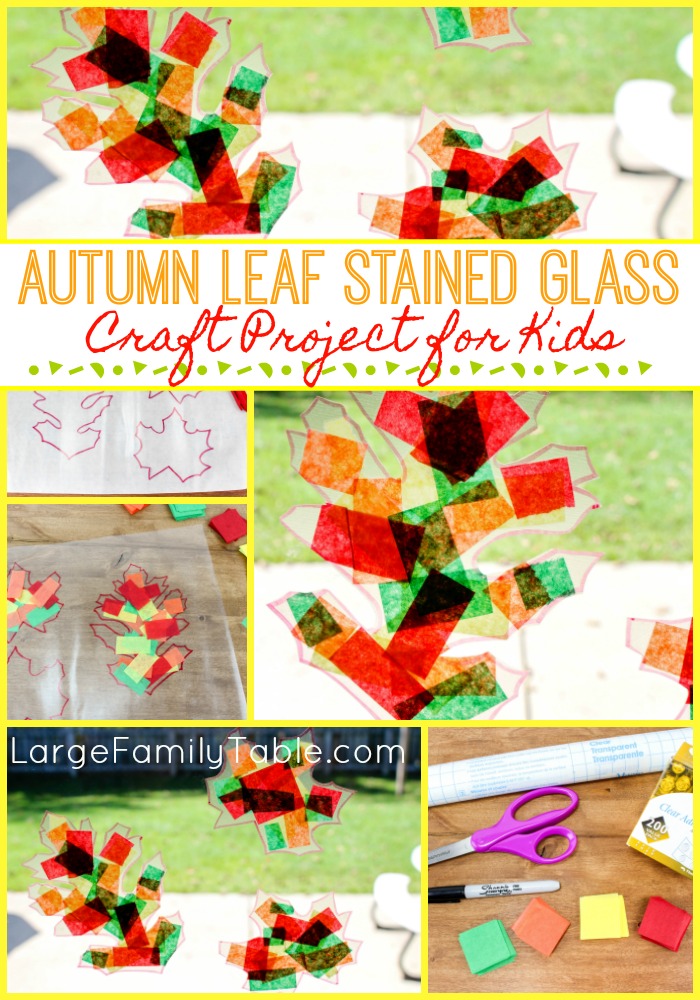
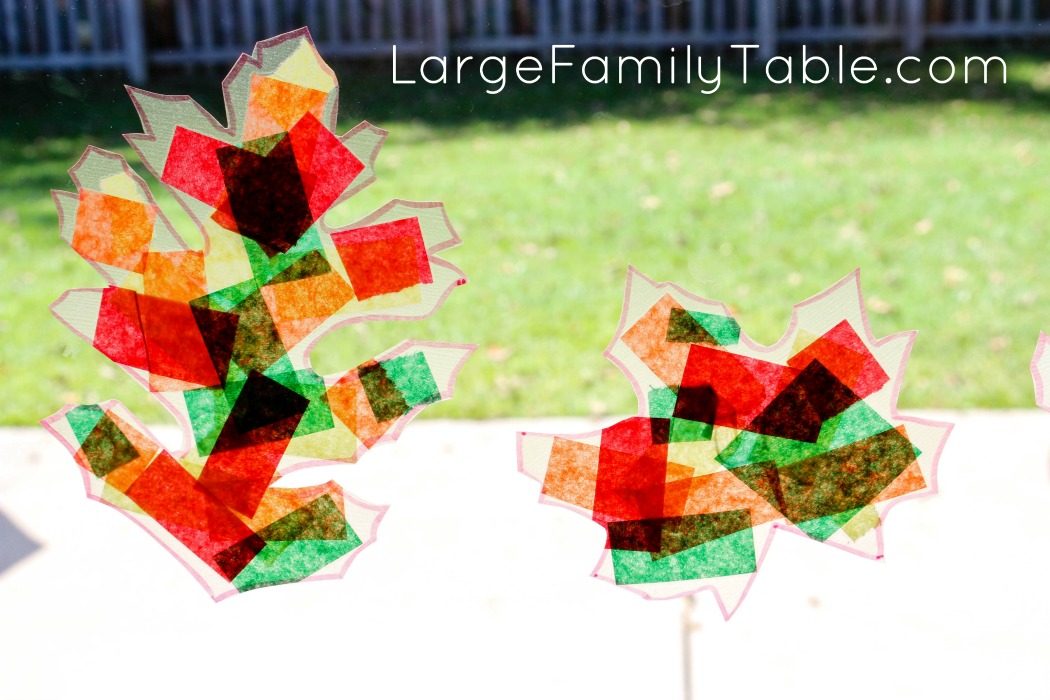
Below is full directions to create a lovely autumn leaf stained glass craft project for kids! You just need a few supplies and a small amount of prep work on mom’s part. The kids will remember filling the windows with their colorful fall leaves for years to come!
Autumn Leaf Stained Glass Craft Project For Kids
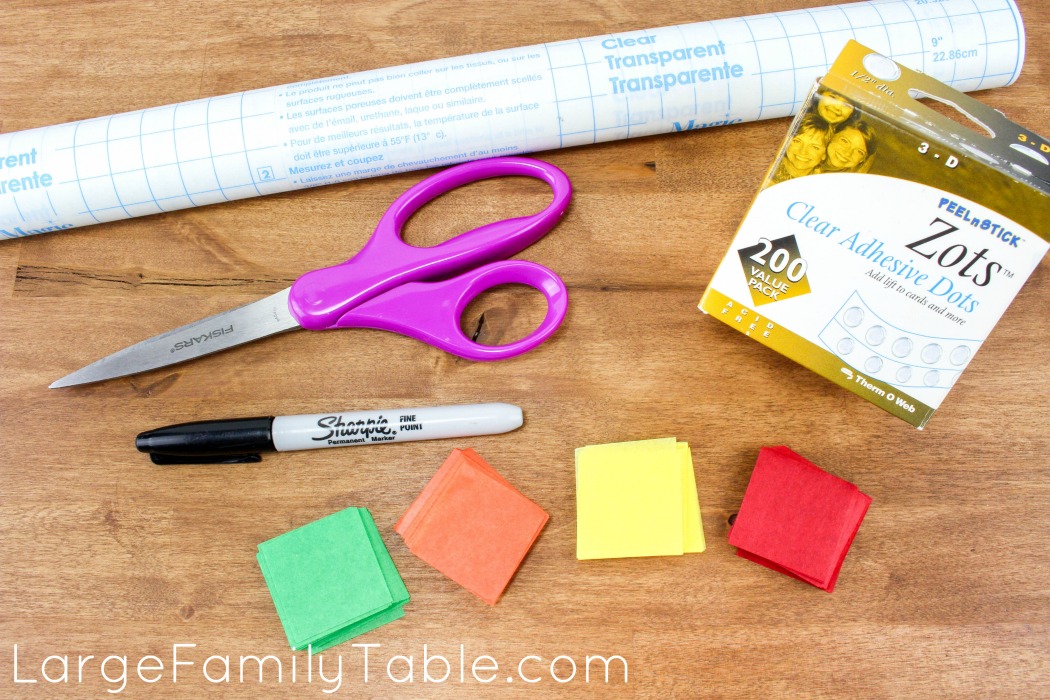
What’s Needed
Clear Contact Paper
Clear Adhesive Dots or double sided tape
1”-2” Tissue Paper Squares—red, orange, green, yellow
Permanent Marker
Scissors
Craft Project Directions
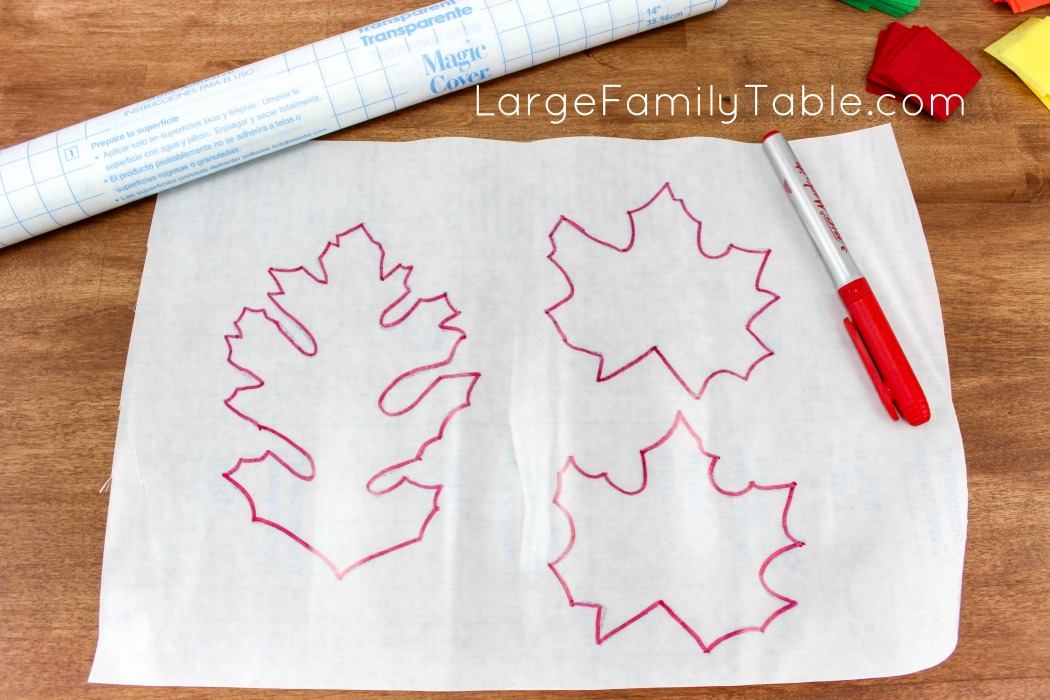
1. Draw leaf shapes on the contact paper with the marker. You can draw free hand or collect leaves from outside and trace those.
2. Peel the paper from the back of the contact paper and lay the sticky side up on the table.
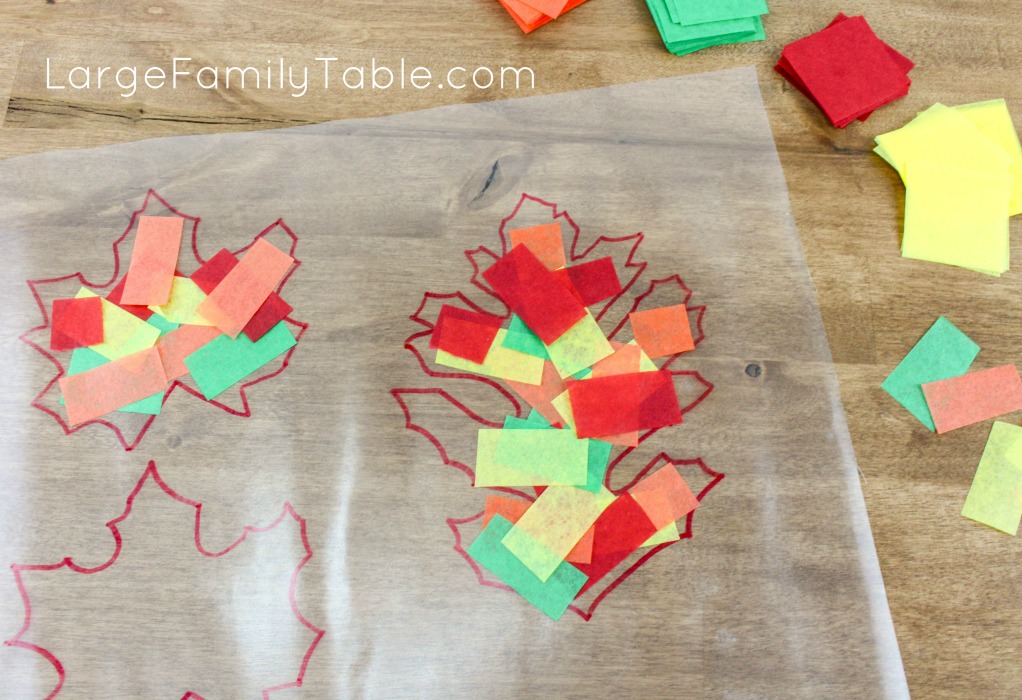
3. Place numerous tissue paper squares of different colors all over each leaf. Make sure to leave some contact paper showing (this will allow the contact paper to stick to the sheet your sticking on next).
4. Now, cover the leaves with another piece of contact paper and stick it firmly over them to make sure you remove all the air bubbles.
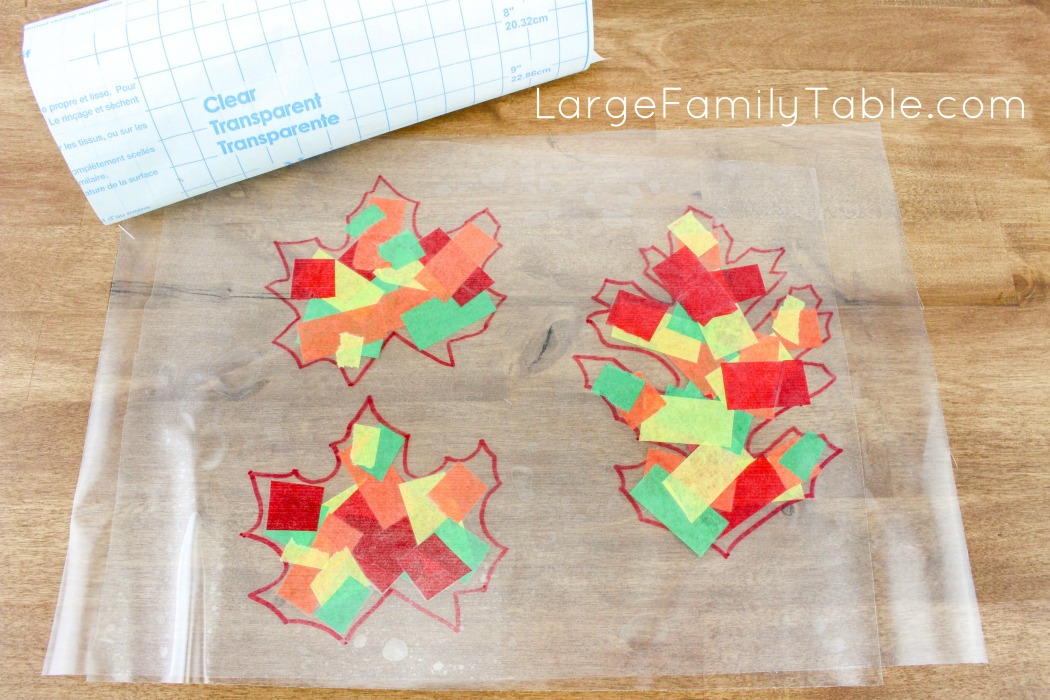
5. Cut out all your leaves.
6. Stick 1-2 adhesive dots or tape on one side of your leaves and stick them on your windows where you get lots of sun.
7. Fun fall craft!
More Autumn Leaf Stained Glass Craft Project For Kids
Here are a few more Autumn Leaf Stained Glass Craft Projects and Resources for you!
- Autumn Leaves Craft :: A Stained Glass Window from The Artful Parent
- Autumn Stained Glass Craft
- How to Make Stained Glass Kids’ Art With Fall Leaves
- Autumn stained glass craft helpful YouTube video!
- Stained Glass Fall Leaves Craft including free template!
Don’t forget to pin this leaf stained glass craft for later!